Painting Canopies
by Jeff Hiatt
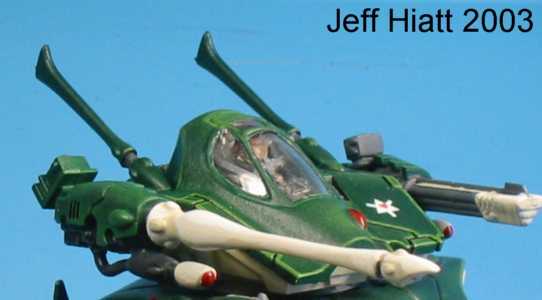
I've seen a lot of painted 40k armies. I've judged a lot of 40k armies in tournaments and contests. One thing that is often overlooked in painting of armies (particularly Eldar) is painting the canopy frames on the vehicles. I can't tell you how many times I have really close competitions be decided by this issue.
With the the technique I am going over here it is very easy to do nicely painted canopy frames that you can be proud of.
Step 1.
Attaching the Canopy
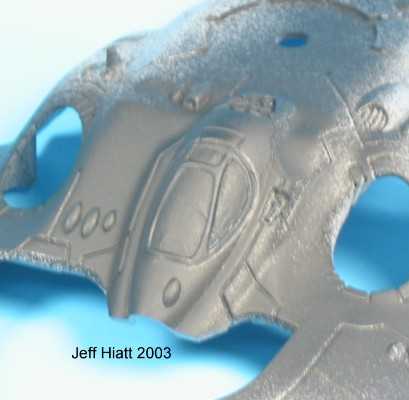
Attach the canopy to the model using white glue (Elmer's or another brand of PVA glue). It is important to use a non reactive type of glue here. With a plastic weld type glue there is too much of a chance of getting it onto the clear plastic and ruining the transparency of the piece and a super glue will tend to out gas while drying causing the clear plastic to craze.
Step 2.
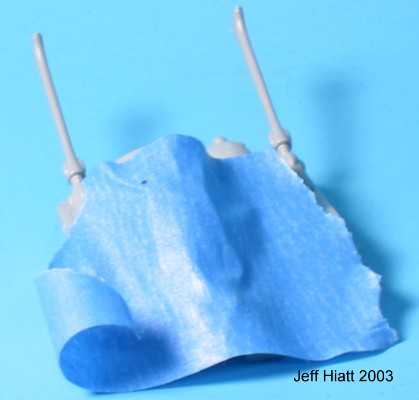
Apply the masking tape
After the Canopy attachment has fully dried put masking tape onto the canopy making sure that it covers the entire canopy. Smooth it down with you finger to make sure that it is stuck on well. When you are doing this make sure to use a fresh roll of masking tape. When you squeeze it there should be some give to it. If there isn't get a new roll.
Step 3.
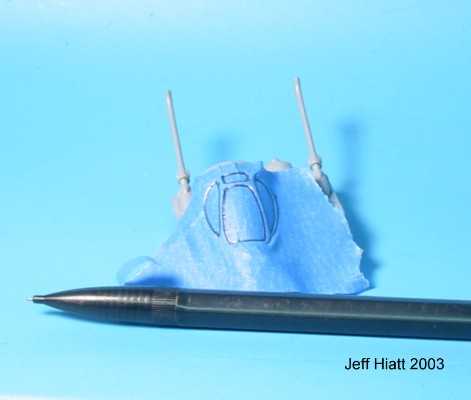
Finding the ridges
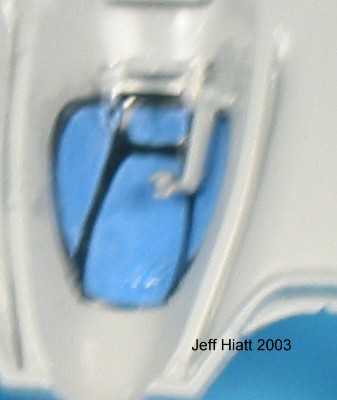
Take a pencil (any will do as long as it has a sharp point but I prefer a mechanical one) and draw in where the part you want to mask meets the frame. do this all along the canopy. This will do two things for you: One it will give you a guide for trimming in the next step and two it will make sure that the tape is attached to the canopy in the most important place: at the interface of masked and unmasked area.
Step 4.
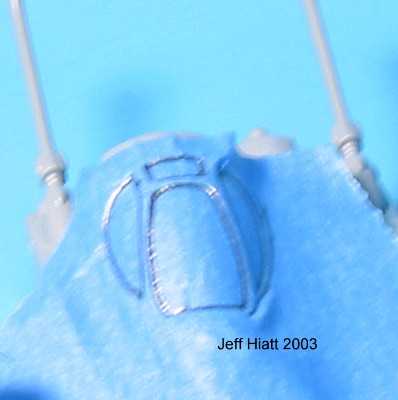
Trimming
Take and Hobby Knife with a new blade and score the edges where the part you want to mask and the part you want to paint meet. The pencil lines that you make in the previous steps will be your guide for this. Keep in mind to use a very light touch here and to use a new blade in your knife. Once you have done this you should be able to peel off the excess and leave tape only on the portion that you want masked. If you happen to start to pull up a portion that you want masked just use your pencil and put a line there and set the tape again. Then score the portion you missed and attempt to peel it off again.
Step 5.
Time to paint
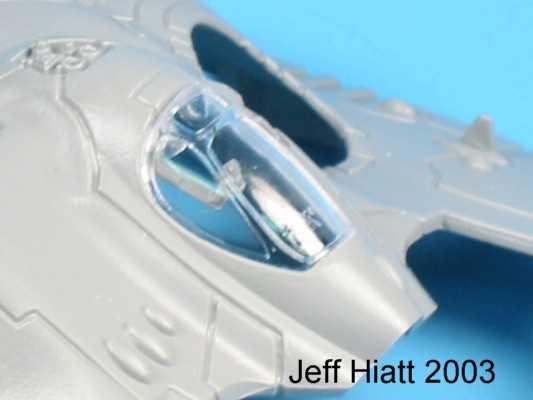
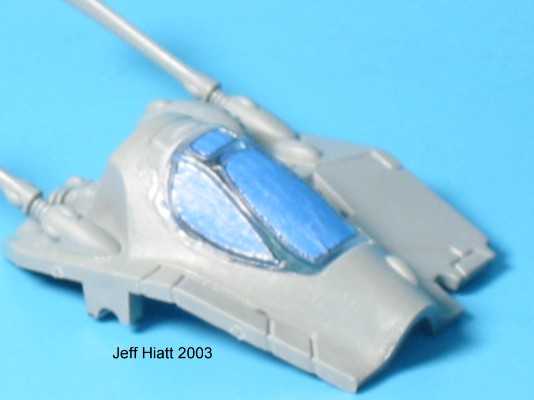
Before you paint think about what color you want the interior of the canopy frame to be. In my example above I am using a dark gray. First thing I have painted on here is the Dark Gray. So now if you look ant the interior of the canopy you will see the frame is Dark Gray.
After this you paint your model normally. Do not take of the Canopy mask until you are completely finished. Make Sure that you also apply your sealer prior to taking the mask of as well. Most sealers will cloud the canopy.
Taking off the mask
Now your model is completely dried. Take your pencil and hobby knife and repeat what you did in steps three and four. This will break the paint between where you want it (the frame) and the mask. Now take a piece of the spruce that the canopy came from and carve in into a flat chisel head. Use this to peel up the edge of the mask from the canopy. Peel off the mask and check to see if the is any tape residue on the canopy. If there is you can clean it using a cotton swab and soap and water.
Problems
-
Scratches on the canopy: Clean these up by using a very fine abrasive film start with a 500 grit and work you way to a 2000 grit then hand paint Future brand Acrylic floor finish thinned with water on to the offending part. If you are not happy with the clarity apply more coat until you get the result you are looking for.
-
Paint on the canopy: Take the chisel tool that you made in step 6 and use it to scrape the paint of the canopy.
If you found this useful and would like to see more article like this click the button below and make a donation.